Setting up Your 1Password Account
When Bitstream provisions your 1Password account, you will receive an activation email from 1Password. This page walks you through activating it, installing the browser extension, creating your account, and signing in for the first time. The whole process takes about 10 minutes; but read the warning below before you start.
Save your Emergency Kit when prompted during setup.
During account creation, 1Password generates a unique Secret Key and gives you an Emergency Kit PDF that contains it. Without the Secret Key, you cannot sign in to 1Password from a new device — even if you remember your account password.
If you lose your Secret Key, your account can be recovered without losing any of your vault data — but recovery is a multi-step process that requires a Bitstream administrator to initiate and confirm, and you will need to set a new account password and save a new Emergency Kit. Save your Emergency Kit somewhere safe now to avoid the hassle! Print it, save it to a personal location outside 1Password, or both.
Receive your activation email
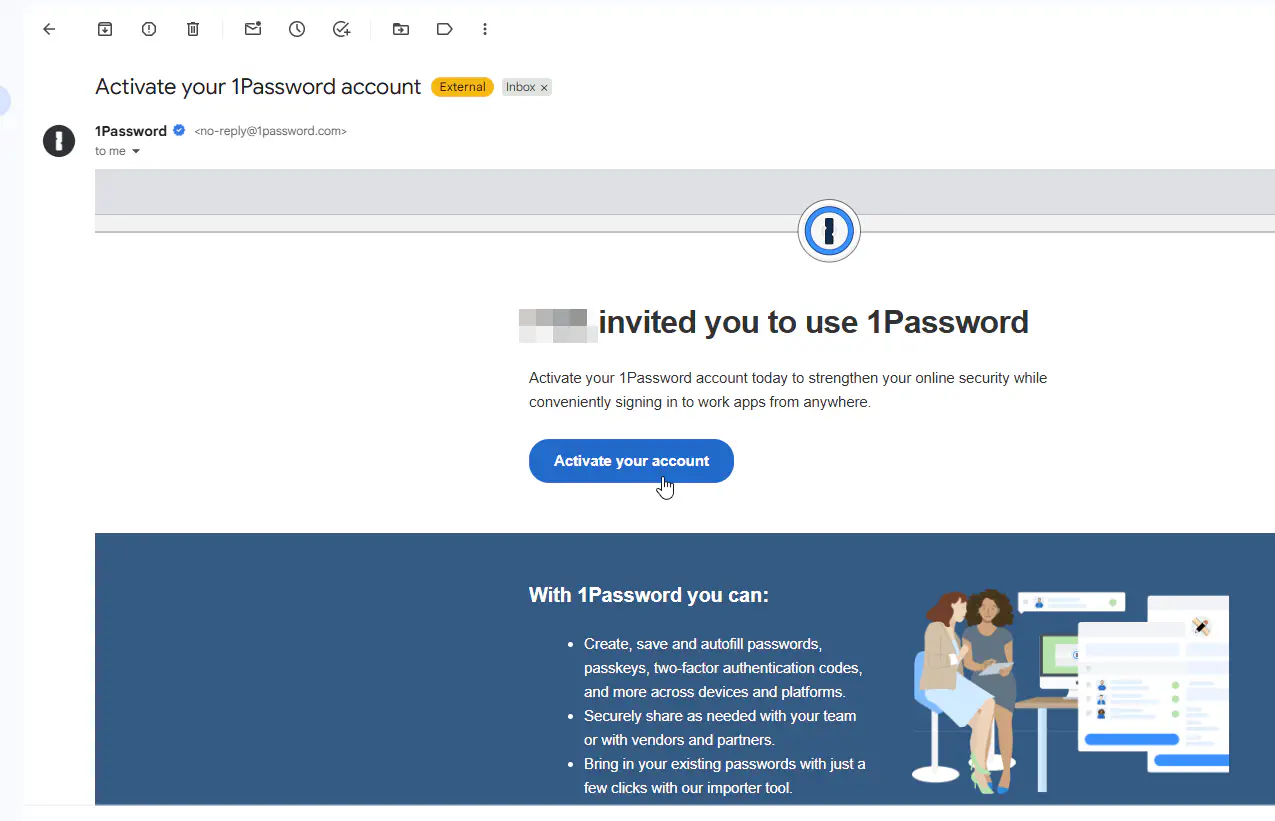
1. Check your work email for a message from 1Password with the subject Activate your 1Password account.
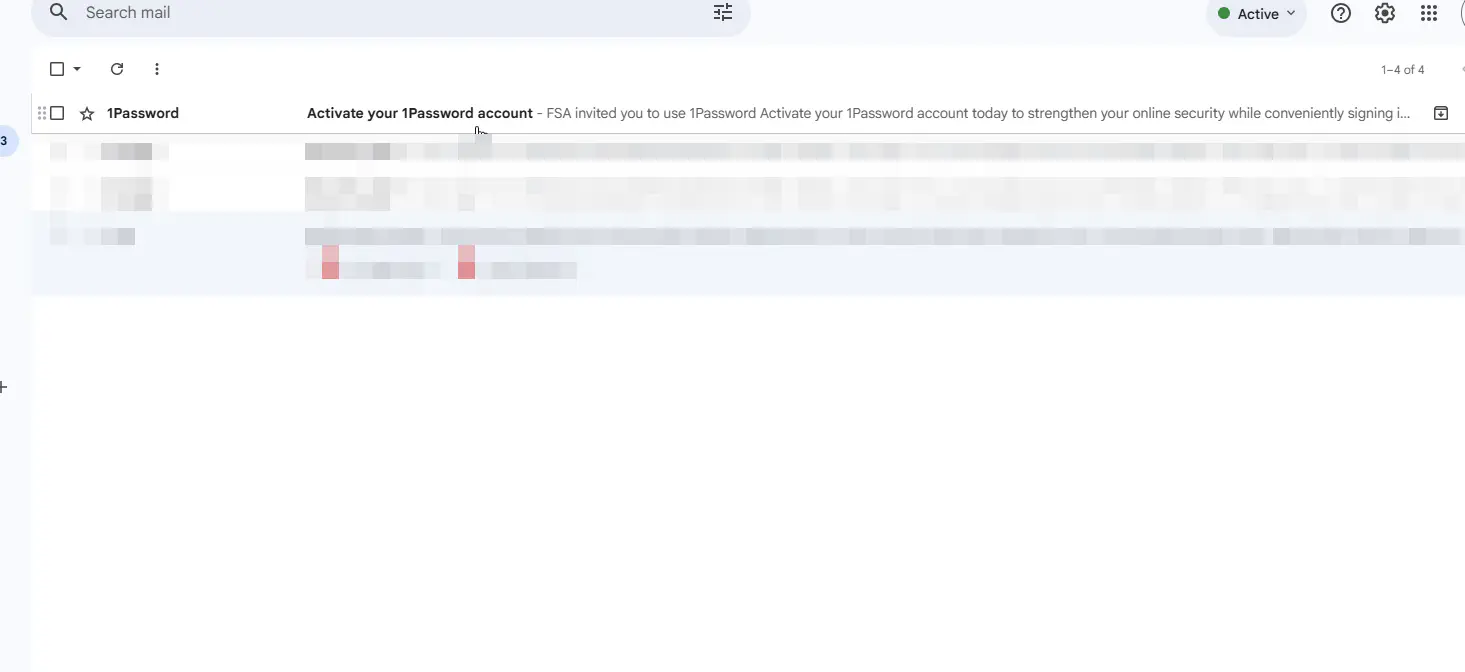
2. Click Activate your account in the email. A new browser tab will open to the 1Password onboarding page.
Install the 1Password browser extension
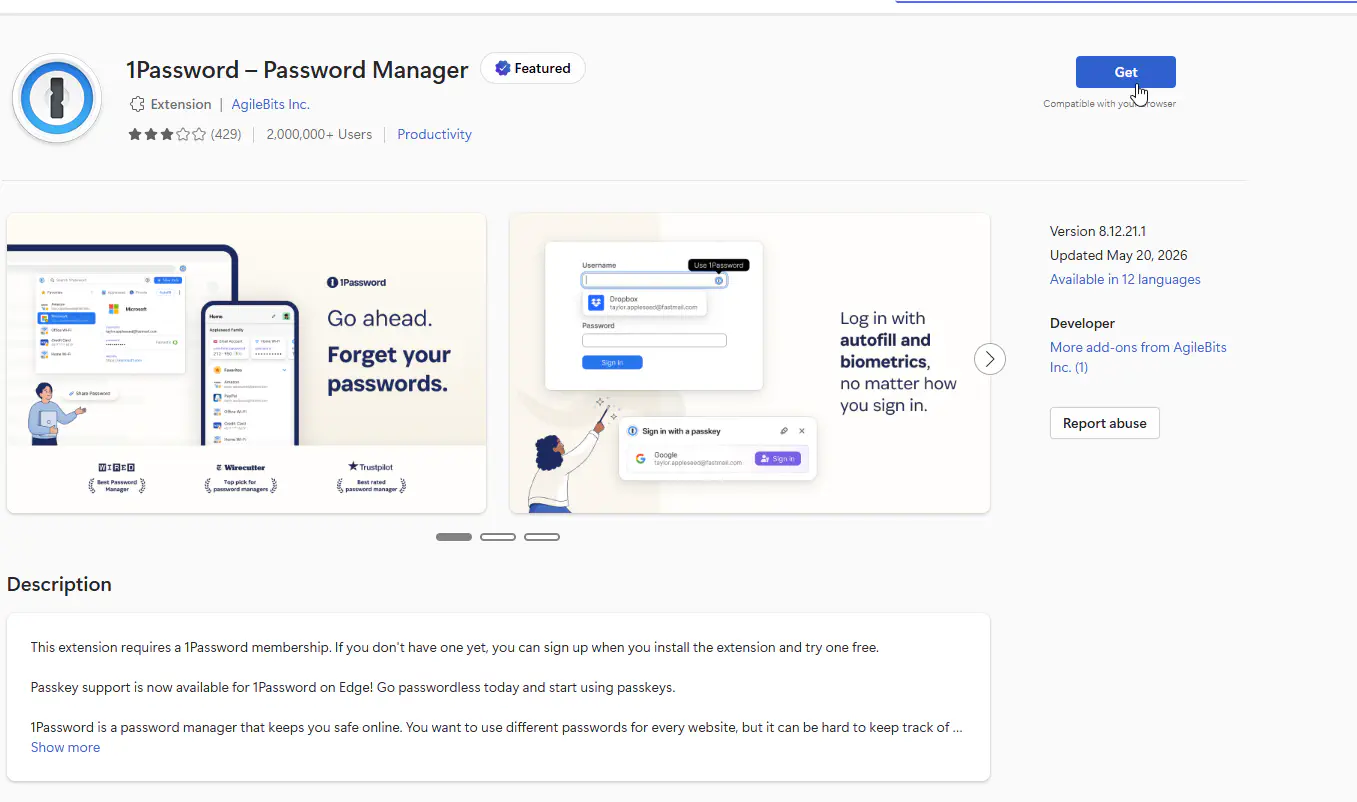
3. The onboarding page will prompt you to add the 1Password browser extension. The extension is what lets 1Password autofill credentials and save new ones as you browse. Install it before creating your account so it can sync automatically once you sign in.
Click the Add extension button.

4. Your browser’s extension store will open in a new tab to 1Password’s extension. Click Get (or Add / Install, depending on your browser) to add the extension.
Create your account
5. Back in the onboarding tab, enter your name. Optionally, enter your company role. Click Next.

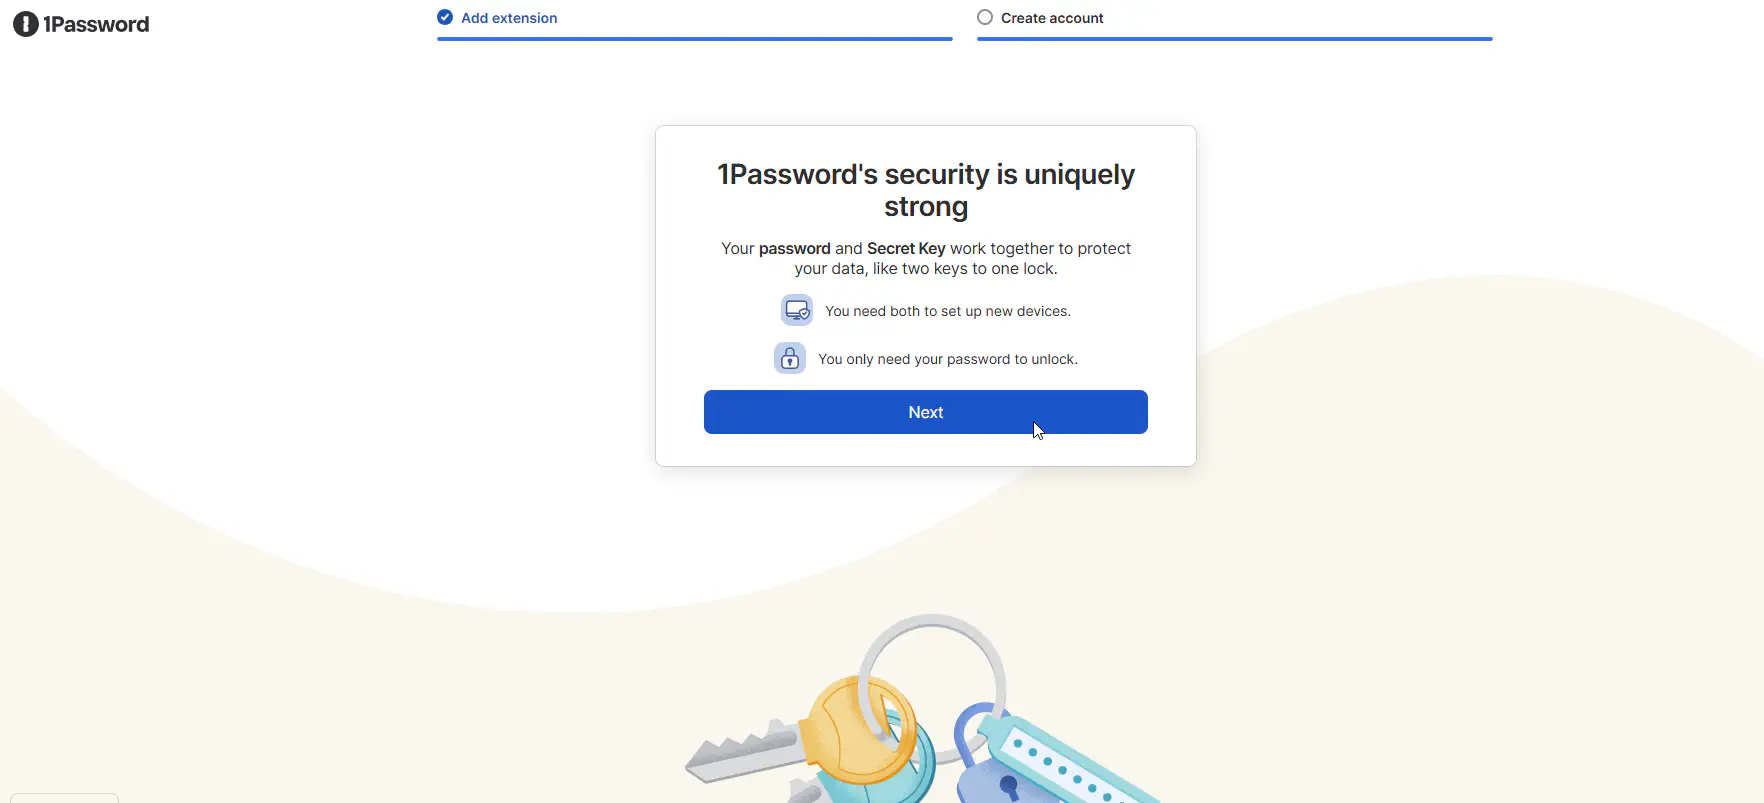
6. 1Password will explain how account access works on multiple devices: both your account password and your Secret Key are required to sign in on a new device, while your account password alone unlocks 1Password once you are already signed in. Read this, then click Next.
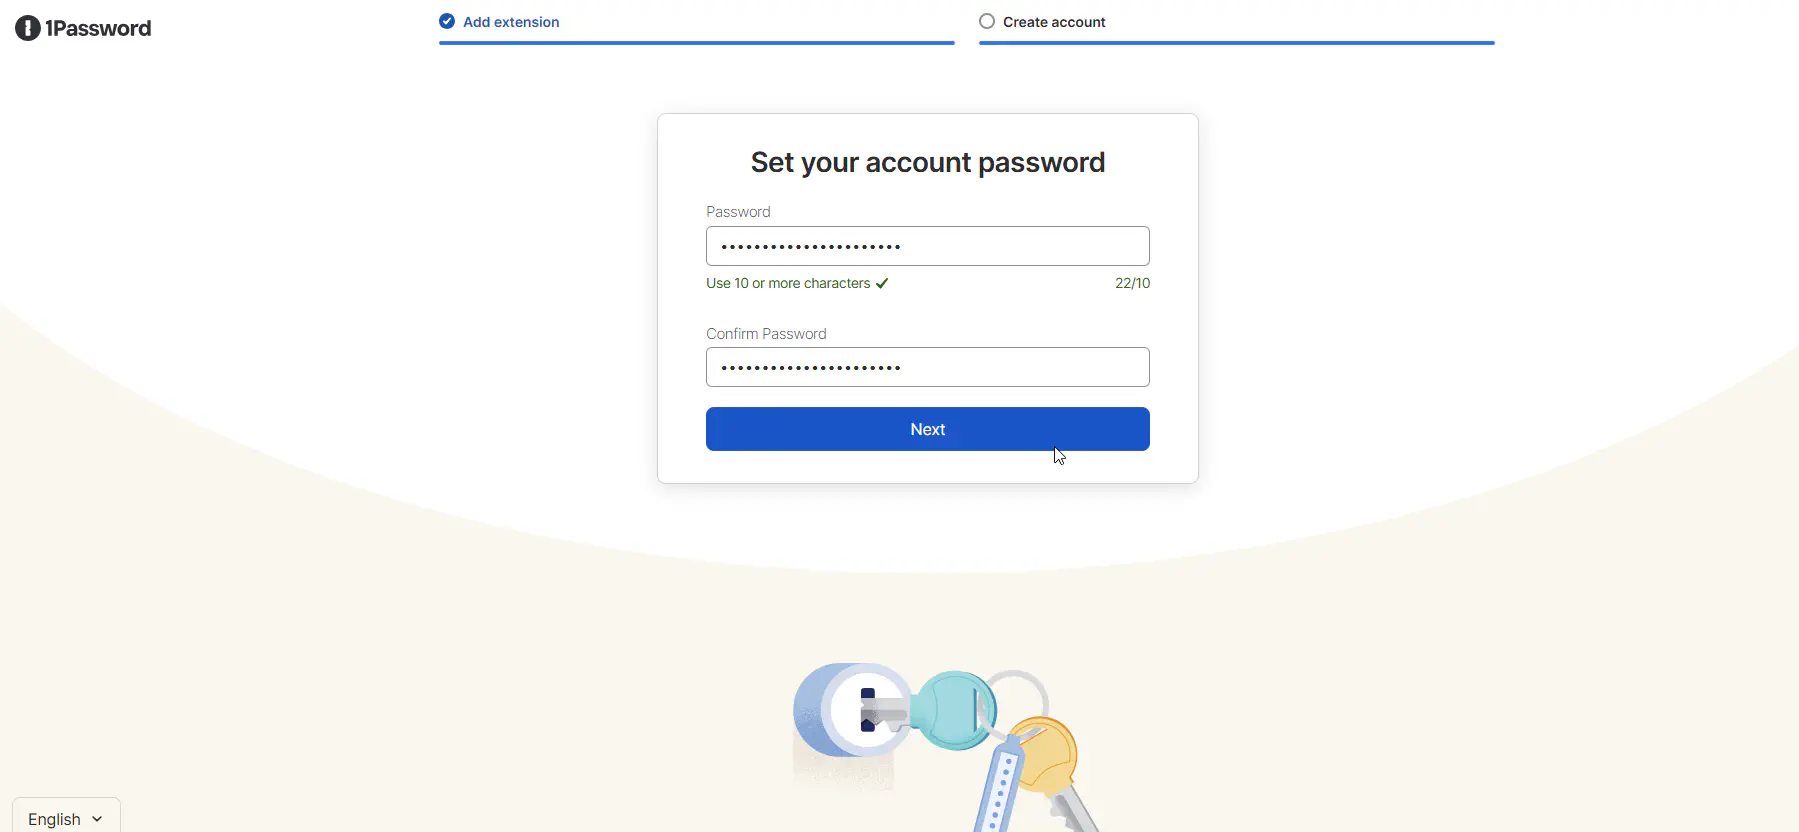
7. Create a strong account password. This is the password you will use to unlock 1Password every day — make it memorable but unique, and do not reuse a password you use elsewhere. Click Next.
Save your Secret Key and Emergency Kit
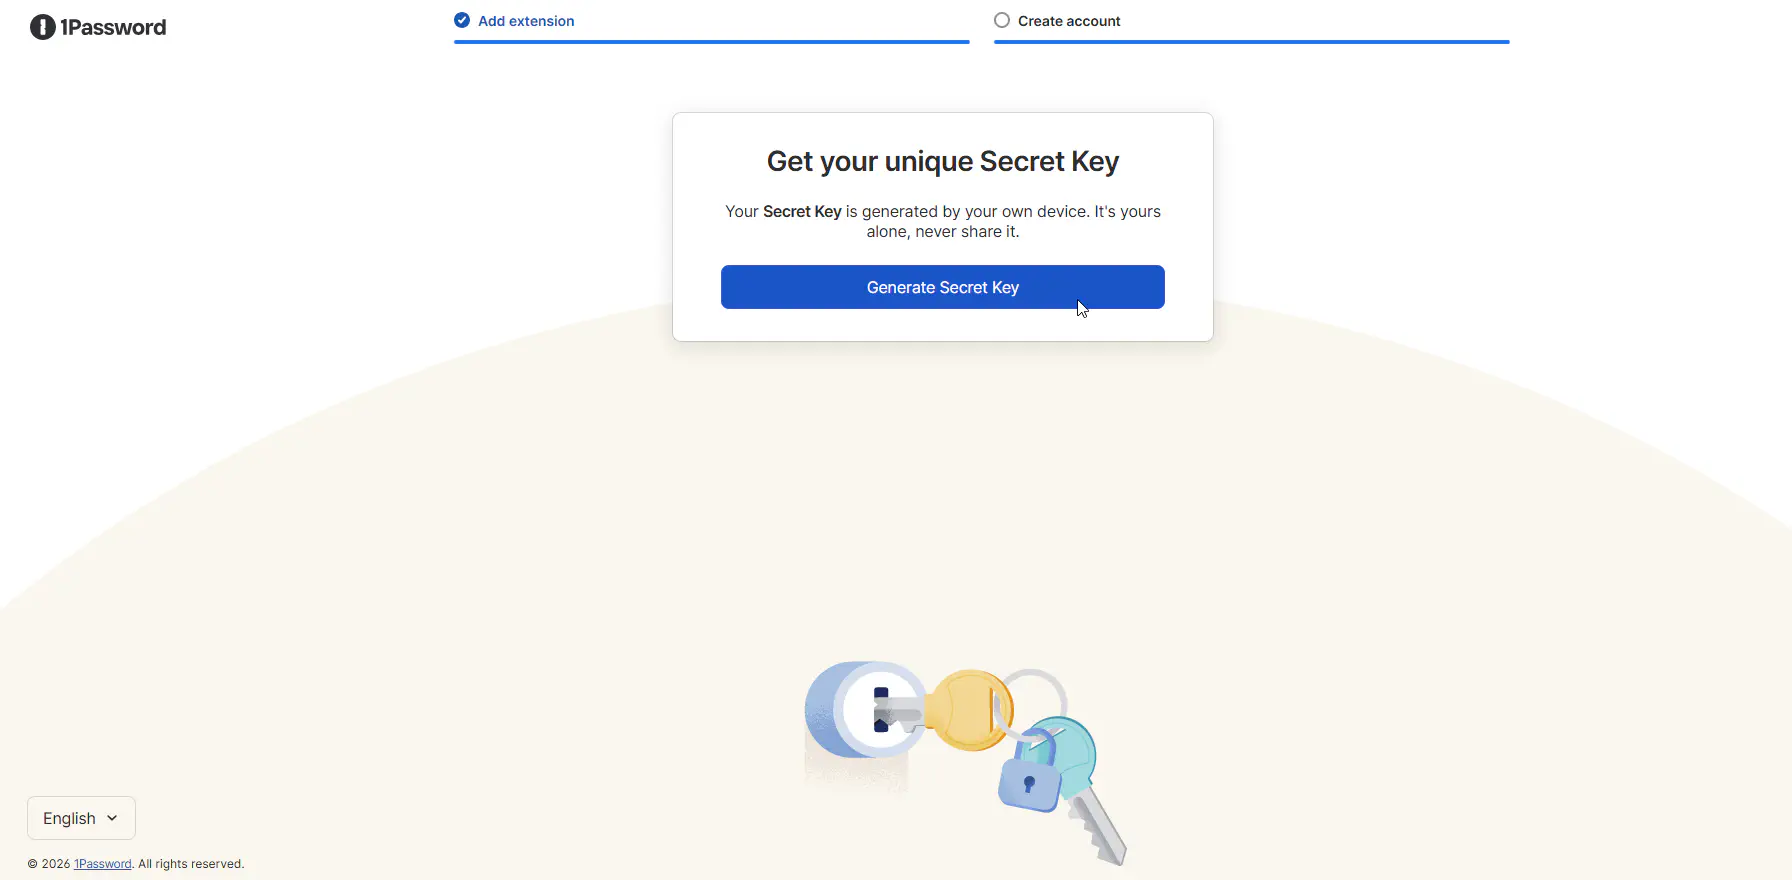
8. 1Password will prompt you to generate your Secret Key. Click Generate Secret Key.
9. A backup prompt will appear with your Emergency Kit. This is a PDF containing your Secret Key, sign-in address, and account email. Click Save PDF to download it.
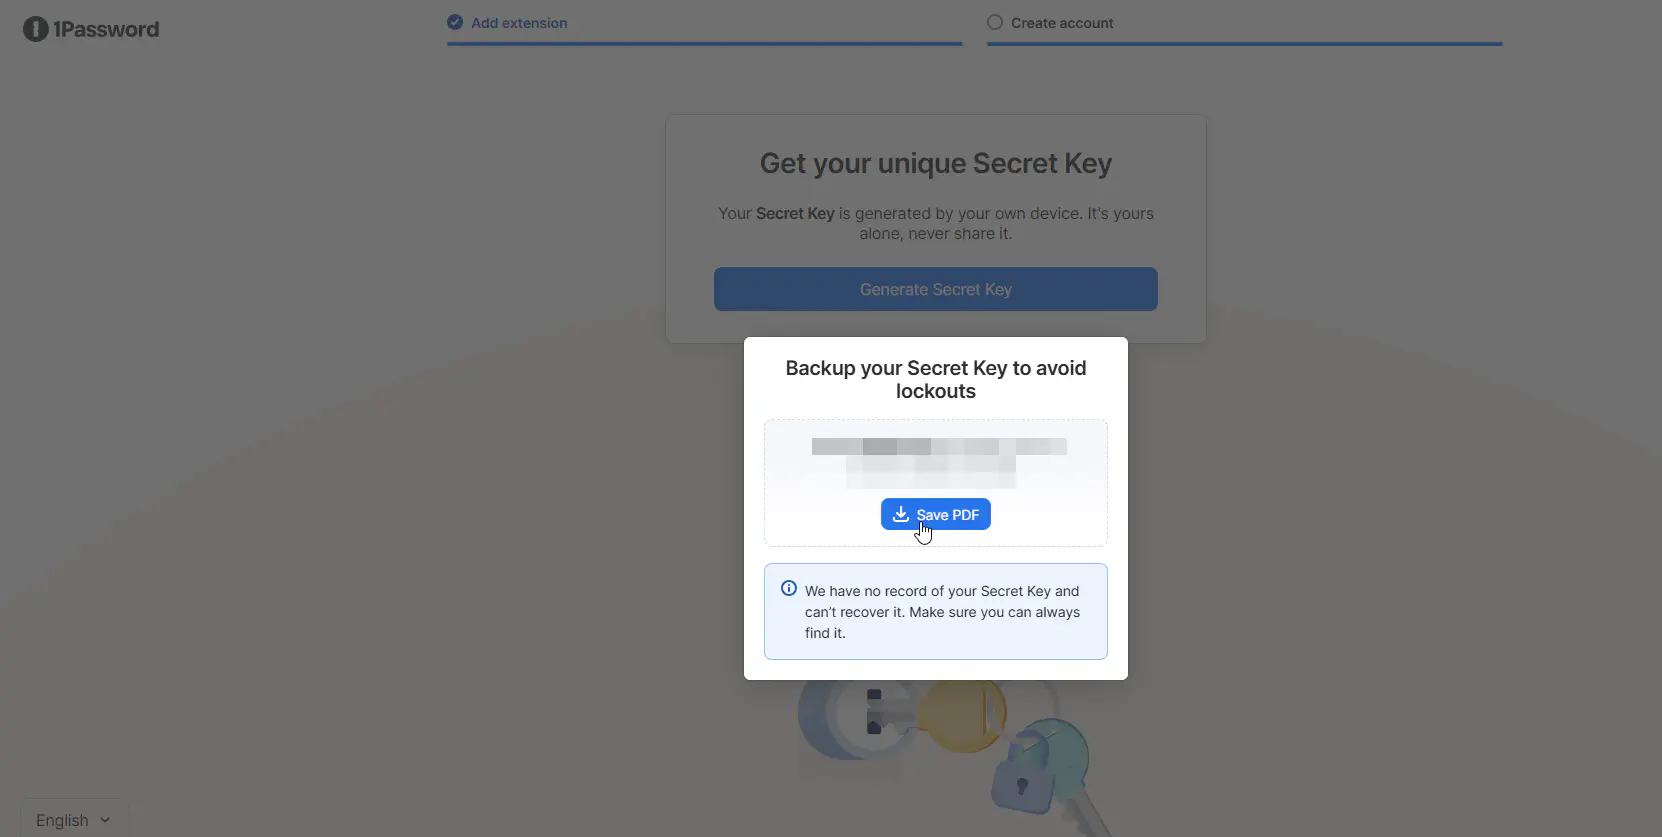
After downloading:
- Save the PDF to a personal location outside 1Password. For example, a personal cloud storage folder, a USB drive, or printed out and stored in a secure folder at home.
- Do not save the Emergency Kit only on your work computer’s local drive. If the device fails, you lose your only recovery path before Bitstream can help.
Complete setup and wait for confirmation
10. After saving the Emergency Kit, finish the setup wizard. You will be signed in to 1Password in your browser. Take a moment to confirm:
- Your name and email appear correctly in the top-right account menu.
- The sign-in address shown matches the one in your Emergency Kit.
11. Bitstream needs to confirm your account in the admin console before you can access shared vaults. This typically happens within one business hour during normal business hours.
Once confirmed, the shared vaults you were provisioned for will appear in the left sidebar. You are ready to use 1Password.
Migrating from Bitstream Vault? Bitstream Vault is a managed version of Bitwarden. If you have existing passwords in Bitstream’s Vault, follow 1Password’s official guide to export from Bitwarden. The encrypted JSON export carries your TOTP codes across; attachments and some item-type-specific fields may not transfer cleanly.
Complete your migration before Bitstream Vault enters its read-only window. Submit a ticket if you need help, we will walk you through it.